Wednesday, June 15, 2011

Father's Day Easel cards

Good Morning!

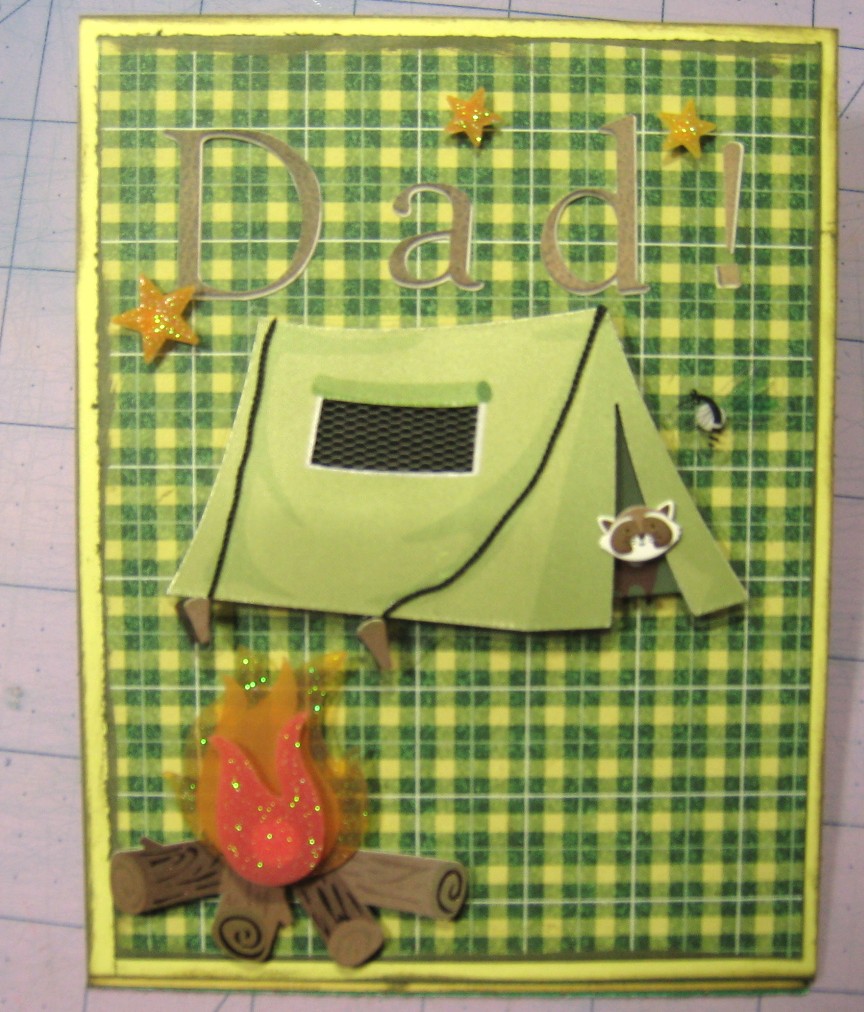
I made 2 father's day cards last night. For the 1st one I used Life is a beach and cut the lighthouse @ 4 and the seagulls @ 2.5. (I've written up instructions for the easel cards in earlier posts if anyone needs the specs for them.)

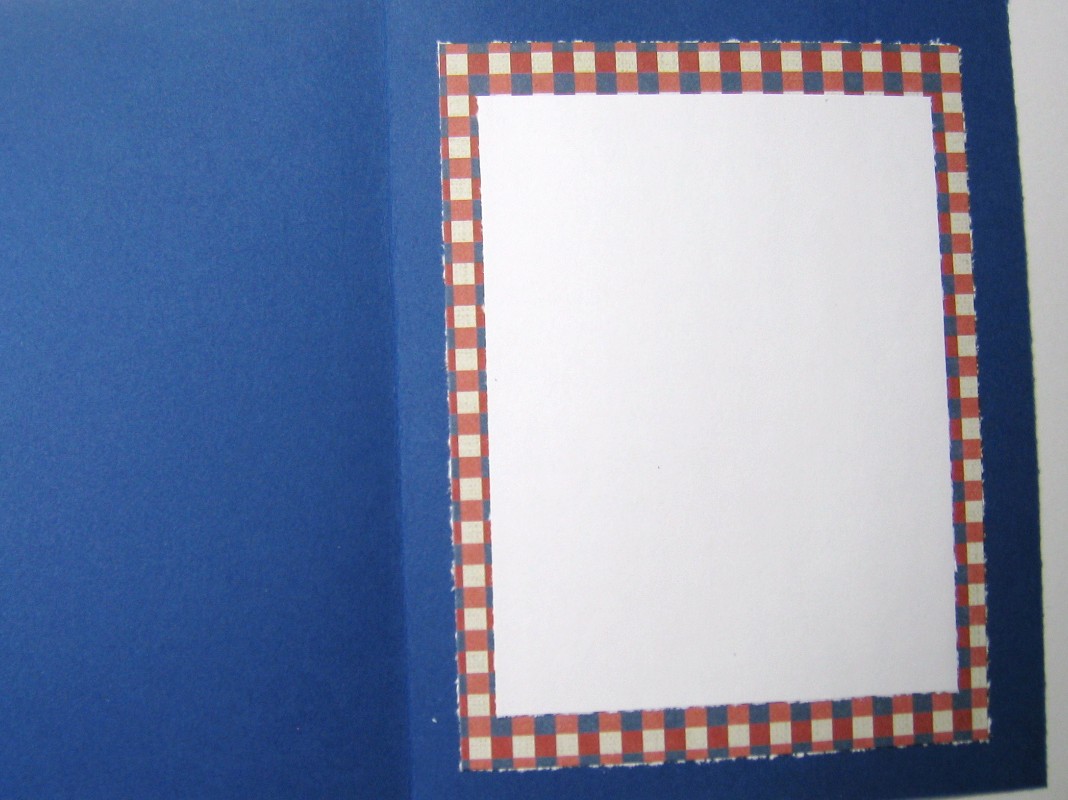
The inside verse if from a book I picked up at the dollar store called "For my Father". I picked up several of those types of books, writing sentiments is not my strong suit! (You can click on the picture to view it larger.)

On the second card I didn't use any cricut, but only because J's didn't have Nate's ABC in stock. :( The boys sitting in that tent would have been so perfect for this card, but the sticker's I picked up from M's worked. Murphy's law being what it is, I found several camping stickers, including a tent when I got home! LOL


Thanks for looking!

Monday, June 13, 2011

May and June 2011 LayOut

I finally found some inspiration to do 2 of the "front" page LO's for my scrap book. I think it's so much easier to scrap by the month. That way I don't have to try and get the exact dates and place them in order... except by month of course. :)

For the month of May, I used a theme based on what I mostly did that day. The colors are wrong, but I spent some time outdoors and time reading surrounded by my 3 cats.


For the Month of June I know my hubby will want to spend the day fishing, so that was the theme I used.


Now to try and get caught up on my scrapping my pictures! LOL

Thanks for looking!

Sunday, June 12, 2011

More Iris Cards

Good Morning!

I made a few more iris folding cards. These are so much fun to make and the ideas are endless.


Thanks for looking!

Friday, June 10, 2011

Center Step Card

Good Afternoon!
SplitCoastStampers had another great tutorial here! I've always liked these cards, but mine never turned out right, until now. :)

I started out with a card base of 4.25 X 11. (A smaller size than on scs)

Starting 3/4 of an inch in, I cut from the 1 inch mark ...


to the 6 1/2 inch line...


I flipped over the card base and cut the other side the same way.


I pulled out my scor pal and laid out my base the long way.


I scored from the outside of the base to the cut line at 1, 2 and 6.5 on both sides. Next I scored at the 5.5 mark but at the inside of the cut lines.


After creasing the score lines, this is what it looks like...


Using the cartridge Stand and Salute, I cut the bell twice @ 3, in two colors. On the brown, I cut off the bell and just used the top part and glued it together. I then glued that on to a black shadow cut. The left over stars I had I glued onto my bell, just for something different. I cut out "let freedom ring" @ 2 3/8. I cut the star borders from holiday cakes @.75 and welded two together, along with the shadow. The paper is from K&Company's Americana pack.


Thanks for looking and have a great weekend!

Wednesday, June 8, 2011

Two Serenade Cards

My Aunt's best friend LOVES pink Flamingo's, so using Serenade I made a quick card for her. The flamingo was cut @ 3.5 with all the layers.


While I was in Serenade I also cut a tree @ 3.5. I used some left over grass from last Easter and inked it in brown. I added flower soft to the branches and the ground. I got the idea when I was in my favorite (and only) LSS. I'm hoping I will get better using the flower soft, I don't think what I've done so far has turned out that great. But my first cards were not too impressive either so there is hope yet! LOL


Thanks for looking!

Tuesday, June 7, 2011

Twisted Easel Card

Good Morning!

While looking for new ideas, I found several twisted easel cards on the web. I liked the idea and figured out how to make them. :)

I started with a base of 9.75 X 4.25. I then scored the base at 5.5 (like a regular A2 card) and then again diagonally from the 5.5 score mark to the bottom corner at 9.75. I cut the top piece at 5.45 X 4.25 and then another floral piece just a hair smaller then that. I glued down just one part of the triangle. It'll make sense once you try it, or you could do a search on youtube, there are a lot of videos about these cards. I added several layers to the inside of the card and gem stones to hold the card up, just like a regular easel card.


And from the back side...


The front when closed...

When opened fully, the inside...

When displayed...

Thanks for looking!

Monday, June 6, 2011

Flower Soft Gate Card

Good Morning everyone!

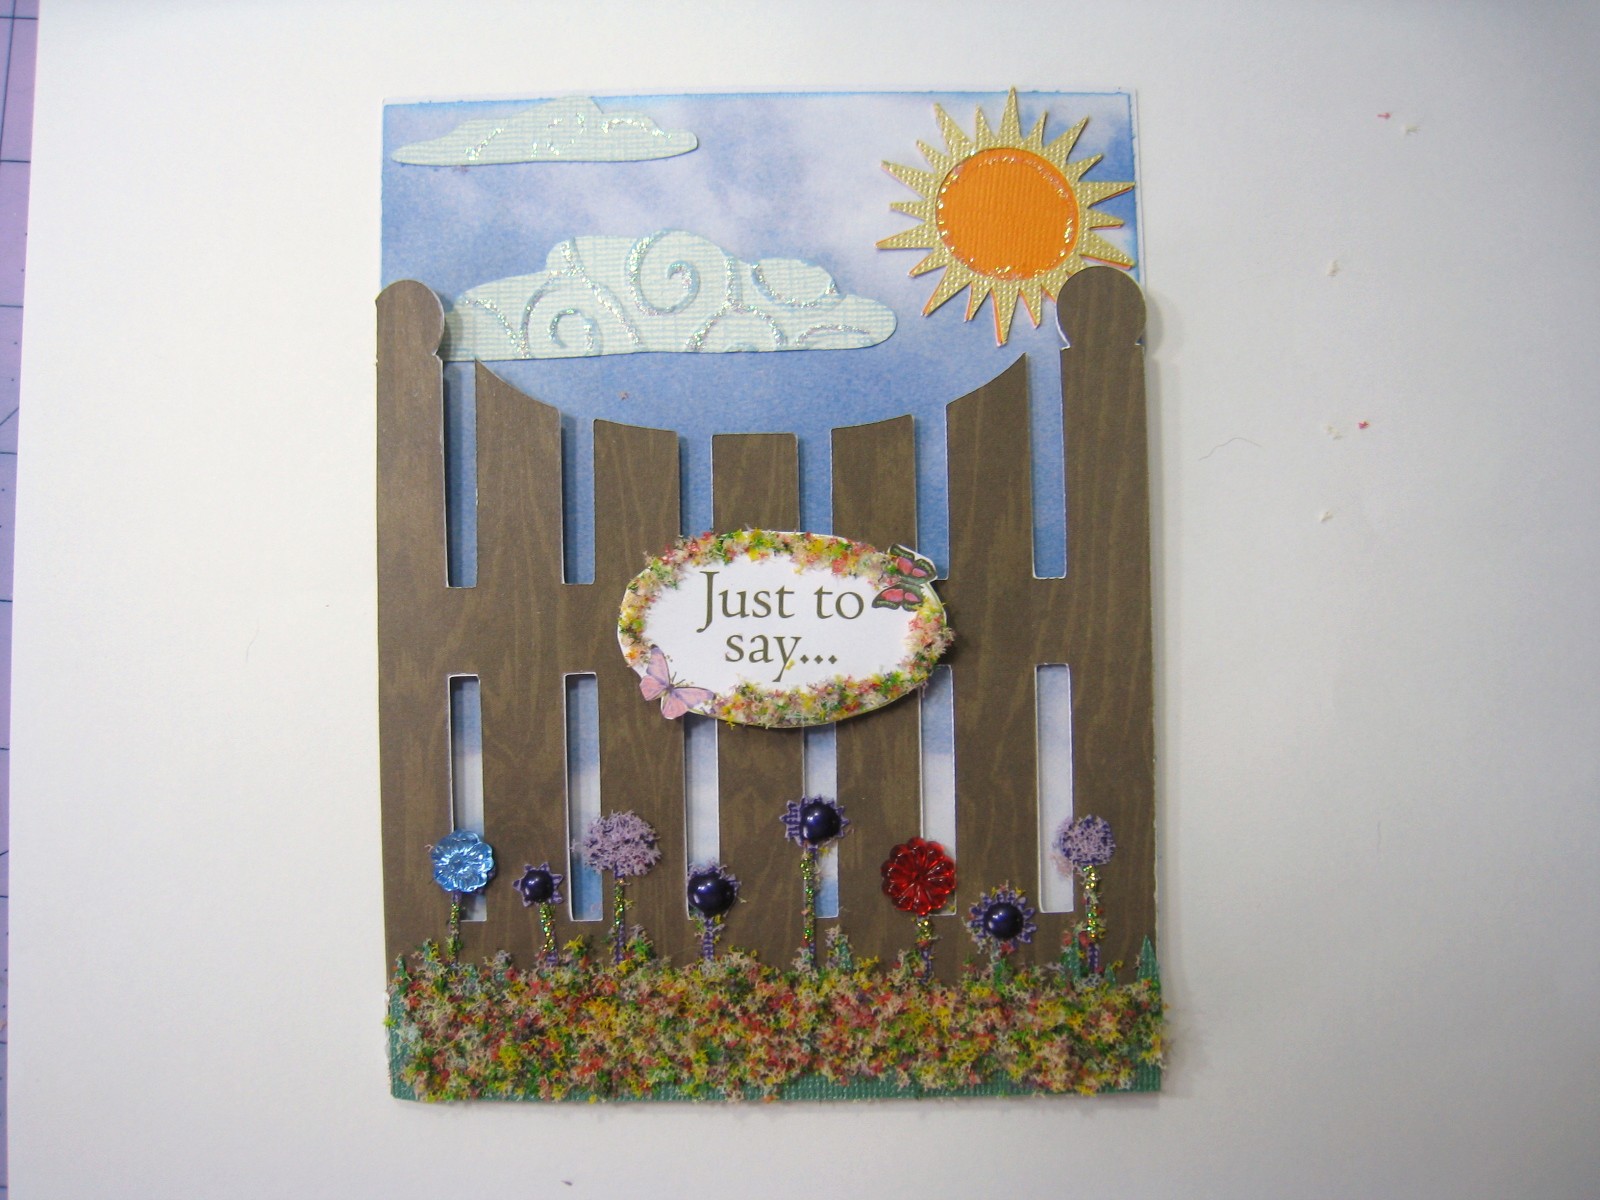
I made a gate/fence card today using flower soft and my gypsy. I used my gypsy to weld the front fence to the back side of my card base. I also used it to flip an extra fence cut to strengthen up the front of my card and to get my sizes for everything. I made 2 cards this morning, a 4.25 X 5.5 and a 5 X 6.5. The gate/fence was cut @ 4 and 5.25 respectively from Picturesque.

I cut out the grass and flowers in the grass @ 1in for the grass and 1.5 for the flowers and 1.13 and 2.0 for the front of the card. I cut off the "grass" off the purple flower cuts.
and then glued the grass on top of the flowers. I cut them just a bit larger for the inside grass and flowers.

and then glued them onto the fence.

I used my flower soft glue and dabbed it onto one of the flowers.
Next I fluffed up the lilac flower soft and sprinkled it on the glue. I held it over my storage bowl.

And then tapped off the excess back into the bowl. I do this twice to get a better coverage of the flower soft. The following picture is how it looks before the second layer of flower soft.

Next I added glue to the grass on the bottom of the card. I only do half at a time so the glue doesn't try out. (You don't need a lot of glue, I just dab it on and spread it around.

I typically put a sheet of paper under where I'm working so I can pour the flower soft back into the bowl.

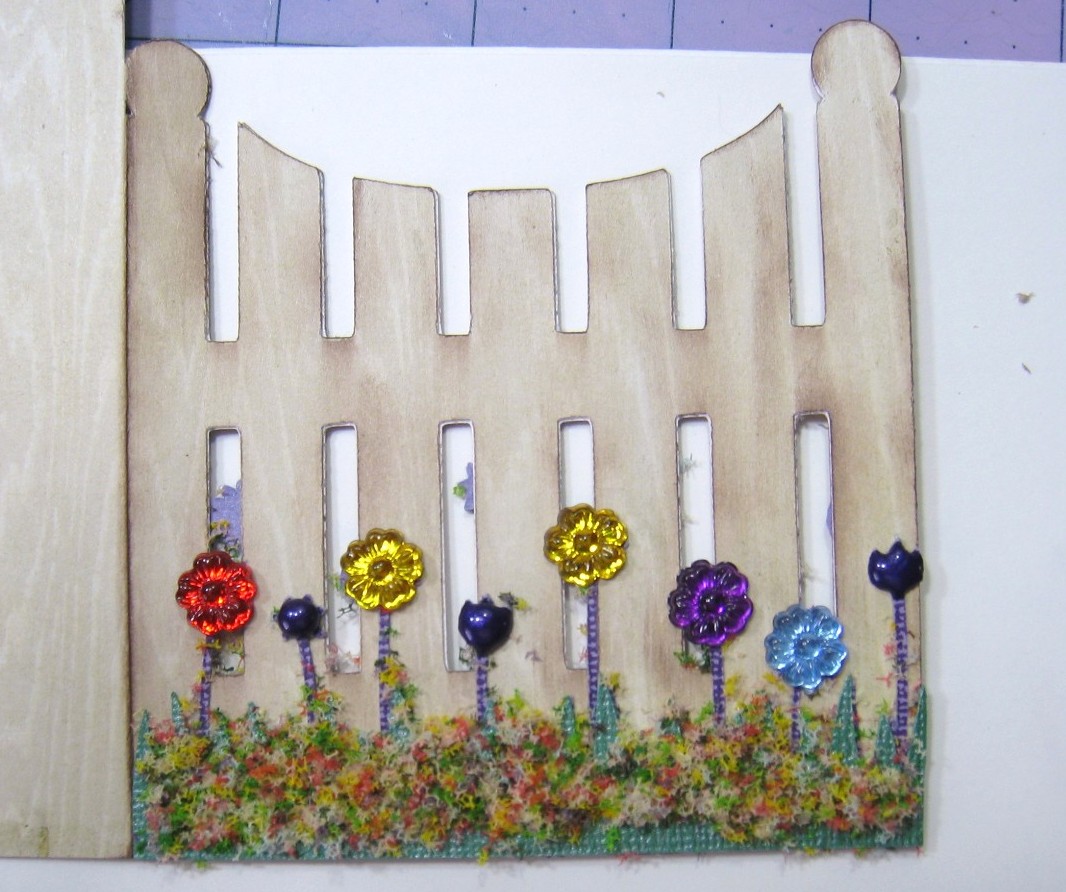
All finished with the bottom. (I was doing both cards at the same time, I just didn't take pictures of the other one.)

I added some VivaDecor Pearl pen in violet to some of the flowers. I love how this doesn't dry flat!
I also added some K&Company adhesive gems.

I added clouds from Stand and Salute @ 1.25 and 1.5. The sun is from Celebrate with flourish cut @ 1.5 and 1.75. The clouds were run through my big kick with an embossing folder. Crystal stickles were added to some clouds and the sun.


Thanks for looking!