Monday, November 7, 2011

A Baby Wreath

Good Morning!

Today is my day to post at The Bugbytes! Thanks again to Pam for inviting me to be part of your awesome design team!!

I'm having a baby shower for my youngest Son and his other half. (I think they may be joined at the hips LOL) Diaper cakes are so popular, I wanted to do something different. I searched the web and found several sites where they are selling baby wreaths, so I set out to make my own.

I started out with a wreath form, size 2 diapers (I only needed 16 for each wreath) and rubber bands.


I opened up each diaper and put it around the wreath. I then took a rubber band and put it around the end of the diaper to hold it in place. (At the end I pulled the ends of the diapers open a bit more) Continue all the way around the wreath, the last diaper is a tight squeeze, but it helps to hold everything in place.


Now comes the fun part... unless you have cats! I named my blog 3 Cats and a Bug because I can never do anything crafty (or anything in general!) without at least one of the cats "helping" me, although in this case it was 2 of them! They LOVE curling ribbon!!! Anyway, at this point I decided what I wanted on my wreath. For my first wreath, it was a learning experience. I wasn't sure how to attach things to the wreath and not ruin the diapers, so I wrapped some ribbon around the wreath and attached things with glue dots.


NOT the way to do it, but like I said, it was a learning experience. :) The best way to do it is to use the rubber bands and slip the baby items inside the rubber bands. Then you tie the curling ribbon on top of the rubber bands to hide them. For two of the wreaths (I made 3 of them) I used bows to top off the wreath.


For the third one I used a frog rattle between two diapers and attached it that way. To change things up a little bit, I tied some regular ribbon (cats don't like that as much!)in a few spots instead of curling ribbon. (Sassy is pictured below, picking out her favorite ribbon. LOL I ended up replacing 2 of the ribbons because they "tag teamed" me and got to the wreath before I could get there!)


I'm hosting two showers next month, so for the third wreath I put it in my Mom's craft fair and it sold within 2 hours. I was beyond pleased by that!! Nothing says "you did a great job" as well as selling something you've made. LOL I will admit, blog comments rank up there just as high, but they just don't give you craft money. :)

Thanks for looking and have a great day!!

Craft Fair Christmas Cards

Good Morning!

This week at SweetSassyDiva's the Design Team is working on Christmas Cards!
This year when I was getting ready to make my Christmas cards for the craft fair I decided to do something different! The last few years the things that sold the most were the simple cards. While the easel cards that I had given away had gotten great comments, they didn’t sell at all. So I decided to do everything rather simple this year. I also decided to cut out my paper first and figure out what to put on it later. :)


I didn’t use all the papers, but there’s always next year! I used last years DCWV Christmas stacks. I also cut out the 2 pages of borders and cut them down to size.


I love the child building the snowman cut from A Child’s Year! I lost count, but I cut out roughly 75 of them at 3.5. I used glitter paper and Coredinations Gem paper for the top pieces....


For the bottom pieces I cut out red, blue, purple and green.


While watching Monday night football, I put them all together. (This whole project took me several days!)


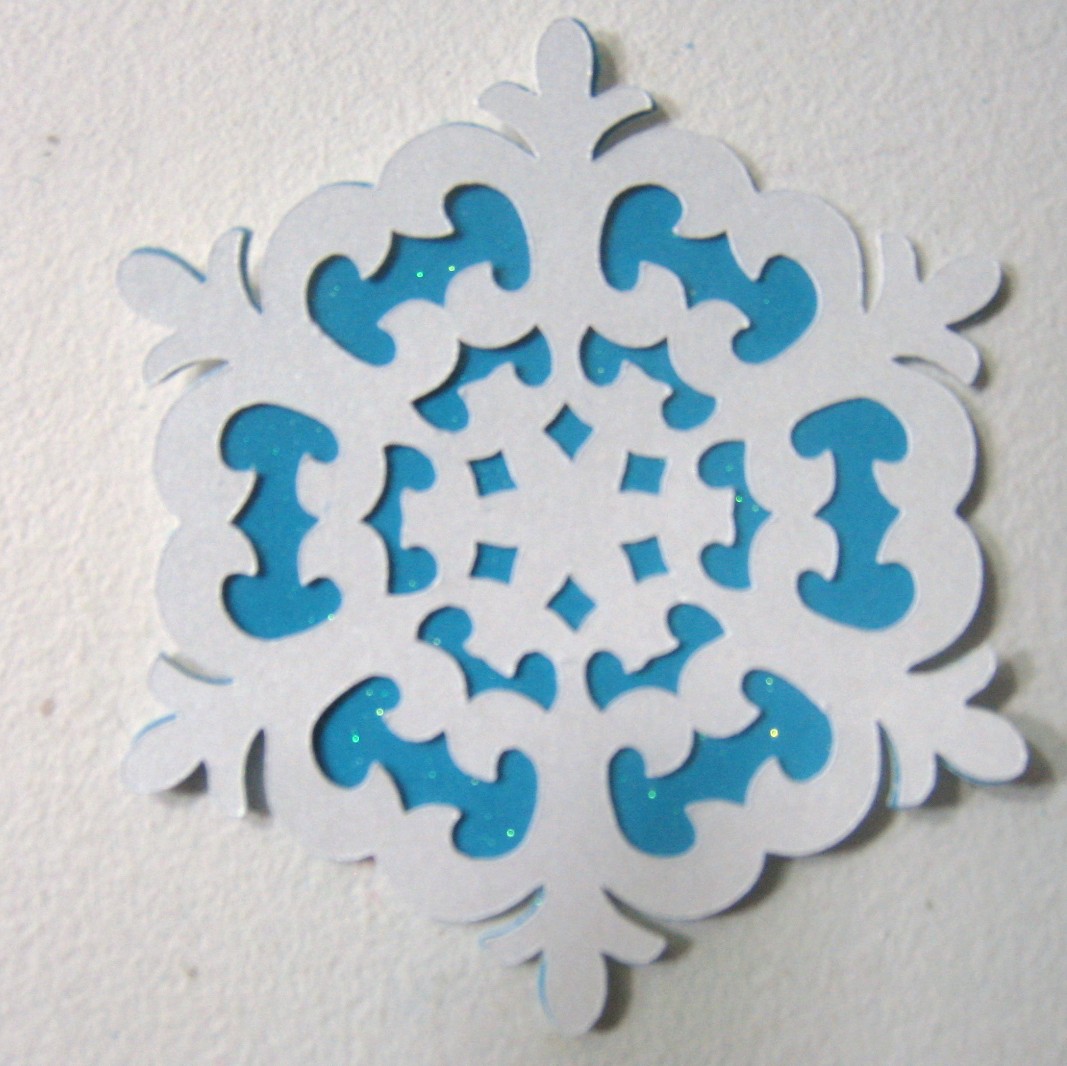
I also cut out the snowflake from Sophie, the cricut circle cartridge, at 3.5 in white and blue.


Normally I use my Pink ATG to put everything together, but I was running low on tape, so I decided to try my Tombo glue. I used the wide end and spread it on the outside of the paper to attach it to the card base. It worked great, even doing 6 cards at a time!


I also spent two days cut out cards from different colored paper and then scoring and folding them. I filled a 8 x13 plastic container plus some. Another half day to cut out the Christmas paper, roughly 120 card fronts. Two days of cutting shapes, one evening of gluing them together in front of the tv and another full morning of glueing card fronts to the bases. I spent another day and a half of putting everything together! I’m tired of looking at Christmas cards for right now, but I haven’t even started on my own personal Christmas cards yet! Lol


Thanks for looking!

Saturday, November 5, 2011

My Memories Software review AND Give Away!!

Good Morning!

I received an e-mail last week from My Memories asking me if I would like to receive, review and give away a copy of their digital scrapbooking software. I wrote Liz back saying I was try it out this weekend.

Honestly I wasn’t too sure what I would think of it. I’ve never been a digital scrapbooker, always preferring a hands on approach to it. While I have the software to make computer generated cards, I don’t do that either, I prefer to make them from scratch.

I sat down tonight and picked out some pictures to make a book for my sister’s 50th birthday next month. I opened up My Memories software, but didn’t bother to read the “how to/help” files. I’m totally lazy that way! LOL As of the typing of this, I have 7 digital pages done already. The software comes with some paper designs and embellishments and I’ve downloaded about 15 free files from the website. I’m amazed how easy it was to just jump in without reading anything (there are videos on the website if you’re not as lazy as I am) and able to turn out 7 pages in less than 1.5 hours. I am totally sold on the software!! I love that I can do it all digital OR I can print out the pages with or without anything and add my own to it if I want. Another great feature is you can print your pages, make an album to print, save as a jpeg, make a calendar, a card, put everything you make onto a cd to send to people, upload it to facebook, make a dvd and even add sounds to your pages.


The BEST part of all this is I get to use random.org and GIVE AWAY a free software to one lucky person!!! All you have to do is go to My Memories store and look around. Come back here and leave a comment telling me what your favorite digital paper is. On Thursday, November 10th I will use random.org to pick a lucky person.

Discount information: In addition to my giving one away, anyone (you, your family or friends) can use this promotion code STMMMS58718 to get $10.00 of the cost of My Memories Suite v2 AND $10.00 to spend on digital papers and embellishments from their store. That's a $20.00 value. Just go here to purchase the software, copy and paste STMMMS58718 into the promotion code area.

Good Luck!!!

Monday, October 31, 2011

Tis the Season!

Good Morning!

Part of the requirement to join Sweetsassydiva's design team again was doing a Tis The Season project. For my project, I decided to do a Tri Shutter card with more non traditional colors.

Tri Shutter cards look like they may be difficult to make, but they really are super easy. You start out with your card stock cut at 5.50 x 12. Next you start at 1 inch down from the top and 2 inches in and cut a line to the 10 inch mark. Do the same thing again only 1 inch up from the bottom. Now you score your card at 2, 4, 8 and 10. It should look like the photo below.


I decorated my card using two different patterned papers, but you can use only one if you like. I also like to have my patterned papers to be smaller than the card stock. That's also a personal choice, so the sizes you cut depend on what you want your card to look like. I also used my color box chalk to ink the outside of light colored paper.


You can see the green borders once I attached my paper.


I did the same thing with the darker patterned paper, except the inking.


Now it's ready to decorate! Around my house, all winter long and sometimes even into spring, you'll hear me say "tis the season!" to my husband. He's a born and bred Texan! He moved to Wisconsin about 11 years ago and he's never totally adjusted to our winters. After the first winter, he's hated snow and the bone deep cold. So every time it's really cold or the snow flies, I just tell him "tis the season!" I couldn't resist making him a card with that saying on it. lol With the help of my gypsy, I was able to lay out several colors of paper on my mat to cut everything except the words.


I used Winter Woodland for almost everything.
The snow man and woman were cut @ 4.5 with their layers. I also used a black pen and stickles on them.

The mittens were cut @ 2. I used my Gypsy and hide the scarf. I used stickles and gems to dress them up.

The hat was also cut @ 2 and I used pink stickles on that one.

"The magic of winter" was cut @ 3, although I tweaked it a bit to fit in the boxes the way I wanted it to.

"Tis the season" was cut from County Life (my favorite for fonts at the moment!) at .75.

The stamp shape behind the words came from Sentimentals and was cut @ 2x 3.75.


Thanks Bobbi Jo for having me as a design team member again!
Thanks for looking!

Sunday, October 30, 2011

Monthly scrapbook pages

I scrapbook a page to start every month in my scrapbook. For me it makes it simplier than trying to find the date from a picture that I took, which could be from 6 months ago. Not to mention it's fun to scrapbook a theme page without a picture using the whole 12x12 space.


Thanks for looking!