Saturday, December 31, 2011

Thank you card

Good Morning and Happy New Year!! This week at SweetSassyDiva's the design team is making thank you cards!

I have several envelopes that aren't standard sizes, so my card for this challenge is 9 X 6.5. The front face of my card was cut @ 4.5 X 6.5.


From Lovely Floral I cut a red banner @ 6.11 and did some faux stitching with a white gel pen. I cut a green banner @ 5.4 and glued them together.


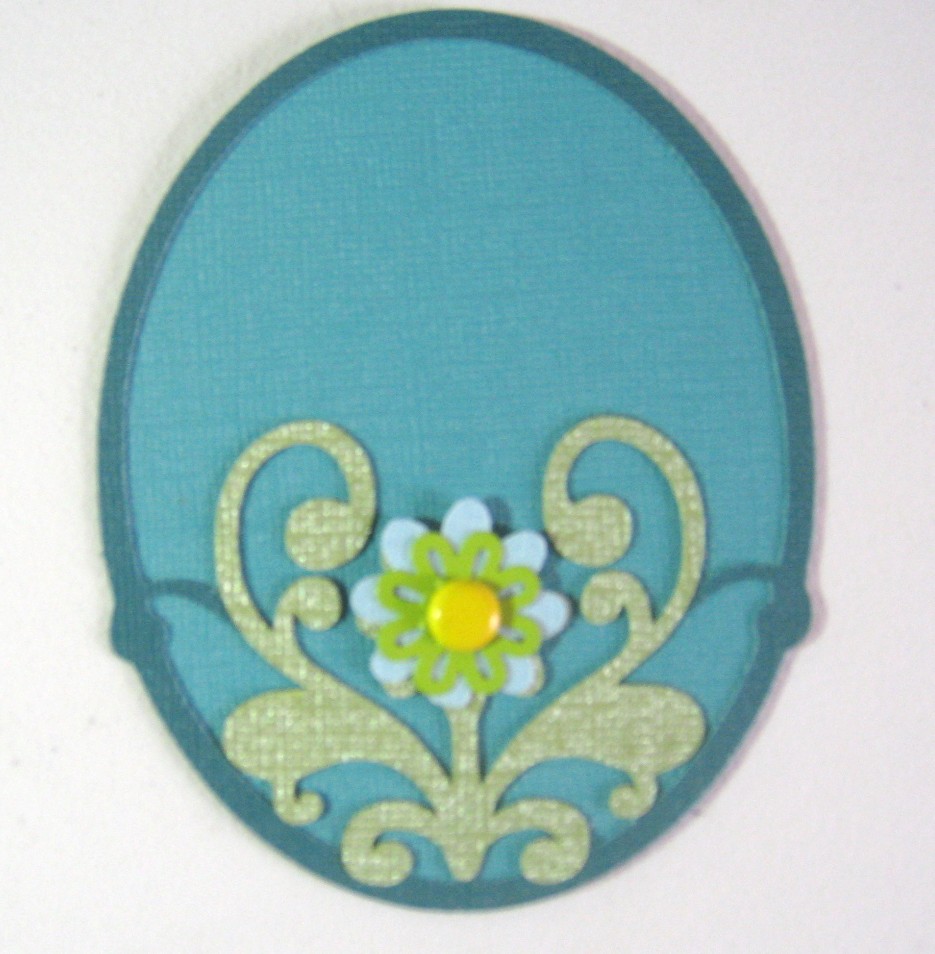
From the Sophie cartridge I cut the floral oval @ 4 1/8 and the background oval also @ 4 1/8. Using the bookmark and shift button, I cut two images. One in green and one in blue. I laid everything out on my gypsy. I placed the blue at the very edge, so that for the blue flower it didn't cut the whole image.


I added two brads to the flower to dress it up a bit. (I also used my white gel pen and added dots along the oval ~ shown in the final picture.)


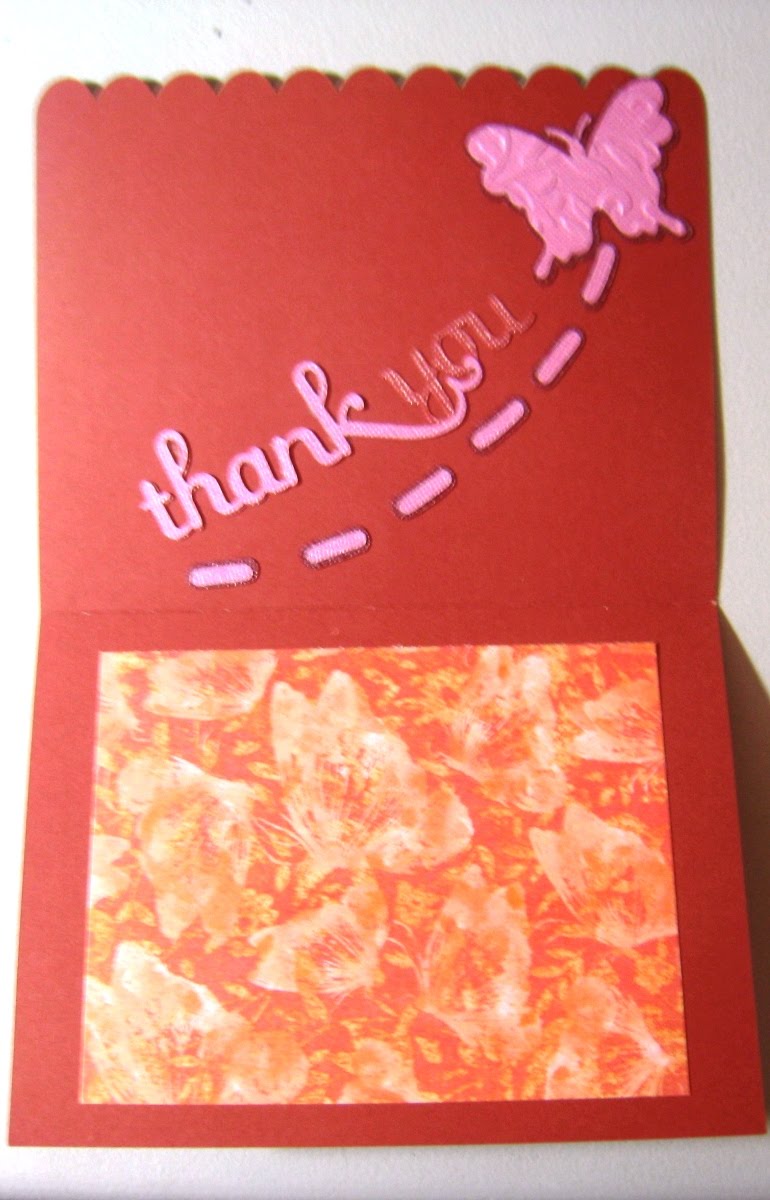
I used the Stamping cartridge to cut the words "Thanks so much". I used my gypsy and hide contour to cut the phrase out in two colors.


I used my leftover paper from the front to decorate the inside. Then I typed up my sentiment on my computer and printed it out.


Thanks for looking!

Tuesday, December 27, 2011

Butterfly Thank you cards

Good Morning!

Just a quick post today. I made two Thank You cards using Everyday Pop Up and Cindy Loo. The butterflies were cut @ 3.5 and the words Thank you were cut @ 1.25.


Thanks for looking!

Sunday, December 11, 2011

Christmas Decor

Good Morning!

This is Jen from 3 Cats and a Bug.

This week at SweetSassyDiva's the DT is making Christmas Decor items! I had a lot of fun making my wall hanging using a lot of stickles, ink and pop dots. For those who know me well know that I do not stamp as a general rule. I do, however like to ink my projects. I only used two cartridges to make my hanging, lacy labels and Christmas. With the exception of the two background papers, only scraps were used to make this project.


The background and frame are from lacy labels, cut @ 10.75

From Christmas: the Church @ 7.25
the tree @ 4
the lamp post @ 3.25

The snow in front of the Church and some of the snowflakes were attached with pop dots. I used the color Night Sky ink on the snow and snowflakes along with ice stickels. On the tree I used a green marker on the tick marks and then added ice stickles to the top of that.

Thanks for looking!

Saturday, December 10, 2011

BugBytes Blog Hop

"

Welcome to the Red, Green, Silver or blue blog hop! If you arrived here directly, please go to the beginning at The BugBytes! You don't want to miss any of the awesome projects from Pam or The Bugbytes design team members! Below is a complete list of the blog hop links. Please leave some "blog love" along the way, we all love comments on our projects!


I decided to do a winter theme candle using vinyl. I used the MS Seasonal cartridge and the Christmas cartridge. I picked up a 6 in. flameless candle from JoAnn's. Using design studio, I put together 3 snowflake borders @ 1.5 and welded them together. I stretched them to 9.44 by 1.53 to fit the width of my candle. I then cut several snowflakes from the Christmas cartridge in sizes from 1 to 1.5 in blue and white. After cutting them, I weeded one of the borders and took a picture to show how it looks weeded. Of course I can't do anything in my craft room without Sassy supervising me!


Weeding the snowflakes was a bit more difficult since the pieces are so tiny, even at 1 inch.


I used transfer paper to attach the borders to the top and bottom of my candle, although next time I think I'll forgo using that. It was more difficult to get them smooth using the paper. For the snowflakes I just peeled them off the backing and placed them around the candle.


These pictures just don't do it justice. Unlike the tealights, the larger candles flicker just like a real candle.

Here's the line up...
Pam from- The BugBytes.com/
Jeannie from - Scraps In My Life/
Jen from - 3 Cats and a Bug You are here!
Carole from - On my craft room wall
Lisa from - Rather B Scrappin
Audrey from - Cute and Some
Mila from - milamemories
Sheila aka sassylady from - She's a Sassy Lady
Elizabeth from - 217 Creations
Kelly from - Kam's Crafty Place
Dayna from - Sabriolet Designs
Lori from - Scrappin My Stress Away
Denine from - Pumpkin Spice
Melissa from - Melissa Made
Allison from- Goody Bag Diva

Thanks for looking and have fun hoppin!!

Monday, December 5, 2011

Window Vinyl for Christmas

Good Morning!

During the summer, my sister was given a bag of vinyl scraps. She had no use for them, so she gave them to me. My goal for today was to start using those scraps and dress up my front door and windows for Christmas.

I started out making snowflakes, the size depending on the size of scrap vinyl. I used winter lace and sophie and cut them out at 2.5, 3, 3.3, 4, 4.5 and 5.5. One of the many reasons I love my gypsy so much is being able to layout my vinyl all at one time.


Now if only I could come up with a faster way to weed it! I had to use the Sophie snowflake, it's so pretty and easy to weed.


For the Christmas tree I only had a 12 x 5 piece of green vinyl, so that was cut @ 10.5 from the Christmas solutions cartridge. The snow layer was cut with a shinier white, but the shine didn't show up in pictures. The two deer were cut from PDDU @ 5 and the single deer was cut from Give a Hoot @5 also.


I also cut out the bunny and the hat from Winter Woodland, both @ 3.3.


Thanks for looking!