Tuesday, January 31, 2012

Blog Hop Winner!

Congratulations Michelle!! As soon as you send me your contact information I will send your cartridge.

Thank you EVERYONE who participated in the hop, it was a lot of fun and very inspiring to see all the comments.

As soon as I reach 100 followers I will do another giveaway.

Have a great day!!

50th birthday party LO

Good Morning!

I'm still working on getting caught up on last years Scrap book pages! Today's LO is from my older sister's surprise 50th birthday party. The pictures didn't turn out the best, the party was at their favorite bar with her favorite band playing. Her Dh went all out for this party, so I wanted to make sure it was in my scrapbook. He really did a great job with the party, everyone had a great time!!

The banner was cut from Lovely Floral @ 2.25 and 2.75. The oval was cut @ 2.75 and 3.25. The letters were cut from Country Life @ 1.25 and the numbers at 1.5. I used a spellbinders die for the frame and typed up the title. I used some leopard print paper because that is my sister's "thing"! All the women were asked to wear something in leopard print. lol

The sketch came from Sketch Support. I didn't follow it exactly, but that's where the idea came from.


Thanks for looking!

Monday, January 30, 2012

Another Shower LO

Good Morning!

Just a quick LO to go with yesterdays. I used Country Life to make the banner, cut @ 2.5 and left over onesies cut from Wall Decor and More. It matches the banner I made Here for the shower.


Thanks for looking!

Sunday, January 29, 2012

Hidden Journaling

Good Morning! This week SweetSassyDiva's DT theme is hidden Journaling. It was great motivation to get working on baby shower pictures! I only used 3 cartridges on this LO, Doodlecharms, Disney-Pooh Font and Tags, Bags, Boxes and more.

The snow globe {Doodlecharms} was cut @ 8. Pooh {Pooh Font} was cut @ 5 and flipped in Design Studio and the cookie jar was cut @ 3. The word baby was left overs from another project. The tag {T,B,B &M} was adjusted in Design Studio and cut @ 4 X 4.7.


The photo mats were cut @ 4.25 X 4.25, except for one, which was cut @ 4.25 X 8. I used my Scor Pal to score a line on the long photo mat @ 4.25. I added the photo to the front and red line tape to the outer edge of the backside to create my pocket. I added my tag inside the pocket before attaching it to the LO.


I used a sheet of circled paper and cut it in half and added it to the outside edges of my double pages. I then added a 1 X 12 blue border to the inside of each patterned paper. The snow globe was cut in half and then everything was glued down.


Be sure to stop in at SweetSassyDiva's and see what else the DT has created!

Thanks for looking!

Saturday, January 28, 2012

Valentine's Day Cards

Cricut Craftin Friends Blog Hop 
Celebrating Cricut Craftin Grammys 1 year
Blogaversary


We're so happy you could join us for this hop celebrating the one year blogaversary of Cricut Craftin Grammy. She has asked a few of her Cricut Messageboard friends as well as her Design Team friends (Fantabulous Cricut Challenge Blog, Lasting Memories and Sweet Sassy Diva )to join her in this two day Blog Hop.  The participants are allowed to share anything creative they wish to share using a Cricut (or other die cut machine if they do not have a Cricut.) Overall Blog Candy  I hope you will hop along with us and leave comments along the way.  For the overall blog candy you need to leave a comment on each blog each day.  If you leave a comment on all the blogs both days your name will be entered into the Random drawing twice.  The random winner will receive a $25 gift card from their choice of Michaels or Joanns.
This is a TWO-DAY hop, so be sure to check out both days so you don't miss any creativeness. Because there is a large number of participants I  will give you until January 30th to post your comments for the two days of the blog hop.   Thanks for joining us!

So let's get hopping!!  If you've hopped over from
then you are in the right place!!  If you've just popped in to visit my blog or are reading this via email and you'd like to join our FUN, then please CLICK HERE to start at the beginning with Suzanne's Blog


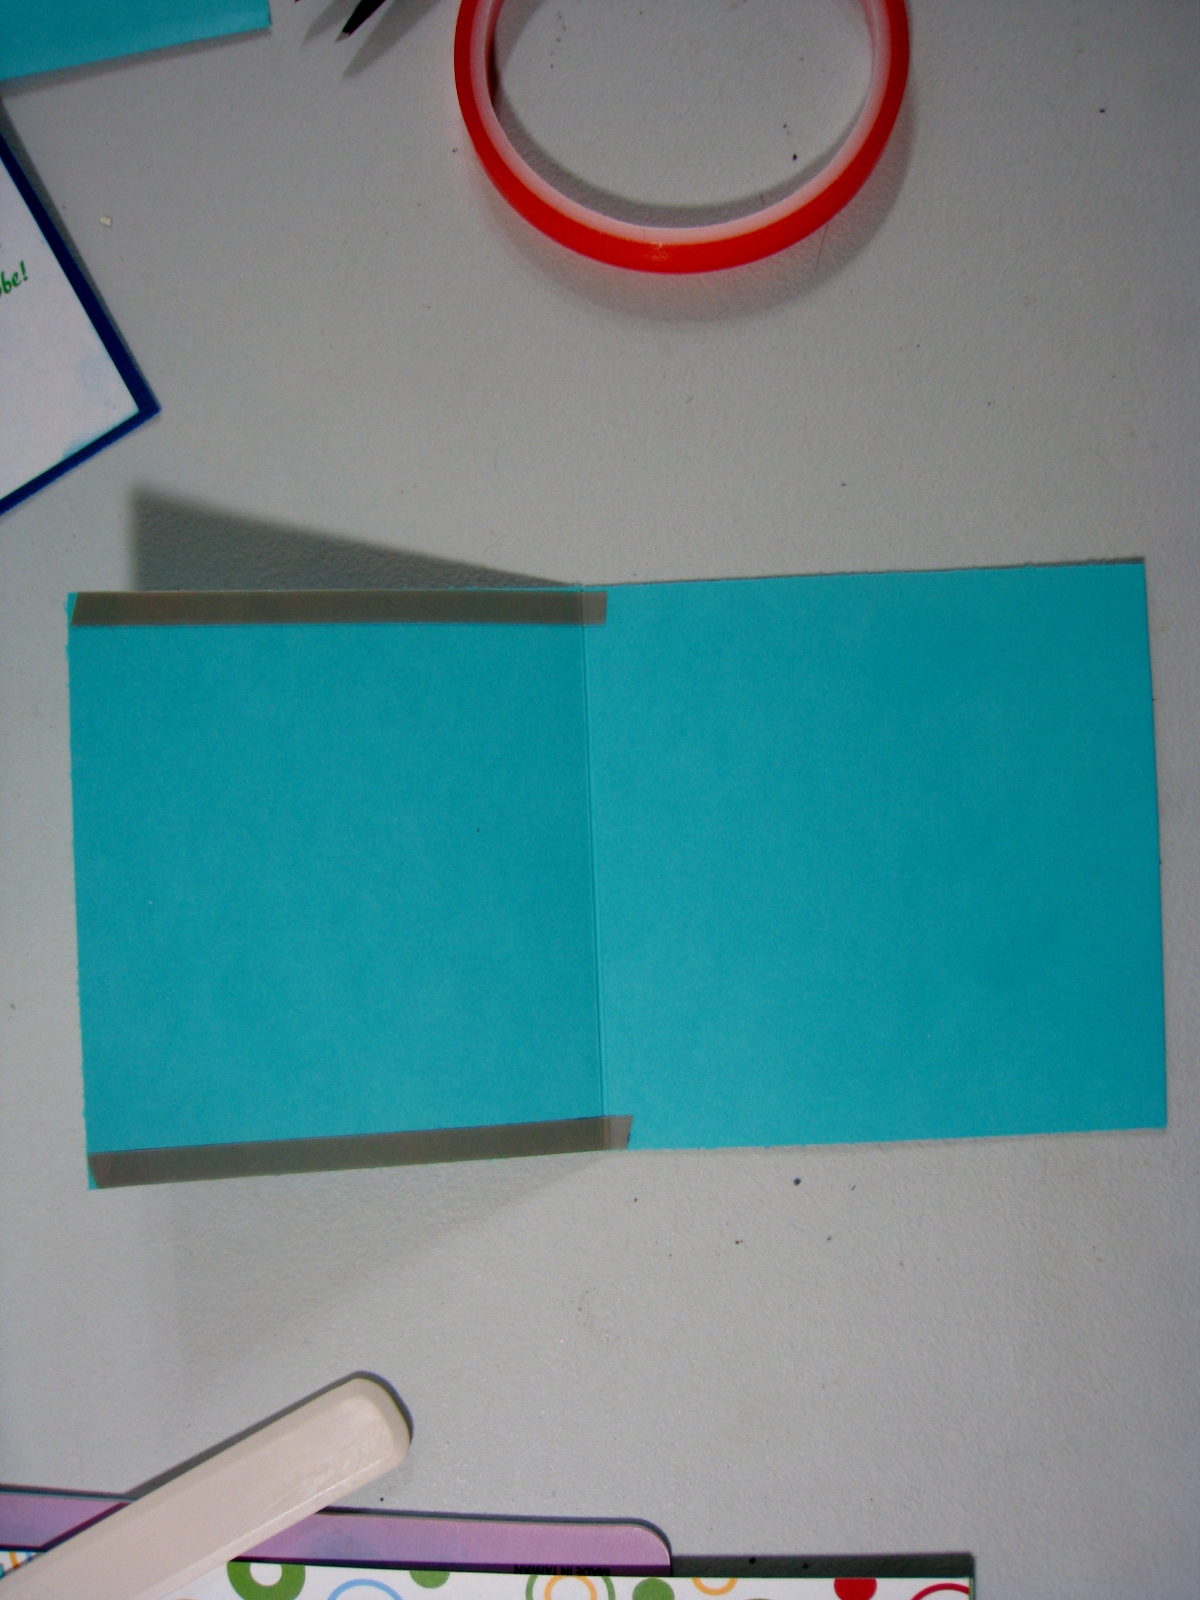
For the hop today, my project is Valentine’s Day cards, although they could also be Anniversary cards too. Everything was cut with my Cricut Expression, so I was sure to have straight even lines. I started out with the border from Holiday Cake cartridge cut @ 12.89 wide X 2.5 high. Once it was cut, I cut it down the middle again and then cut them again @ 3.5, leaving me enough for 2 cards.


Out of the same red I used on the border, I cut one rectangle @ 3.75 X 5.25 and one scalloped circle from Lovely Floral cartridge @ 2.25. From red rose patterned paper I cut another rectangle @ 3.5 X 1.75.

From white card stock, I cut a rectangle @ 4.75 X 3.5 and embossed it. I cut another white rectangle @ 3.5 X 2.25, a circle @ 1.74 and the banner from Lovely Floral I cut @ 2 X 3. I used my Gypsy to hide the oval that goes with the banner.

The circle was cut @ 1.75 and I used a punch of intertwining hearts.

I did switch colors on the circles for a few cards to see which way I liked the best. When I laid my cards out, I put about 3.5 inches between the two halves of the borders. I'm curious, which one do you like best?


I will add a saying to the banner, when I figure out if they are going to Valentine's or Anniversary cards. They were so easy to make, I made a dozen right away and I know I don't need that many Valentine's Day cards.

Thank you again for checking out my project.
For Blog Candy for my Blog I will be choosing a random winner for the Holiday Cakes cartridge on January 30. So make sure you leave a comment, along with a way for me to contact you, and become a follower.

Remember to visit all the stops for MAXIMUM ideas and LOTS OF FUN!!


Suzanne
Also posting for Cindy who does not have a blog
Fantabulous Cricut Challenge Blog  Frienda
Lasting Memories
Message Board Friends
Shawnee   http://quiverofangels.blogspot.com/
Sweet Sassy Diva Blog Friends

Friday, January 27, 2012

Paper Trimmings ~ LO

Cricut Craftin Friends Blog Hop 
Celebrating Cricut Craftin Grammys 1 year
Blogaversary


We're so happy you could join us for this hop celebrating the one year blogaversary of Cricut Craftin Grammy. She has asked a few of her Cricut Messageboard friends as well as her Design Team friends (Fantabulous Cricut Challenge Blog, Lasting Memories and Sweet Sassy Diva )to join her in this two day Blog Hop.  The participants are allowed to share anything creative they wish to share using a Cricut (or other die cut machine if they do not have a Cricut.) Overall Blog Candy  I hope you will hop along with us and leave comments along the way.  For the overall blog candy you need to leave a comment on each blog each day.  If you leave a comment on all the blogs both days your name will be entered into the Random drawing twice.  The random winner will receive a $25 gift card from their choice of Michaels or Joanns.
This is a TWO-DAY hop, so be sure to check out both days so you don't miss any creativeness. Because there is a large number of participants I  will give you until January 30th to post your comments for the two days of the blog hop.   Thanks for joining us!

So let's get hopping!!  If you've hopped over from
then you are in the right place!!  If you've just popped in to visit my blog or are reading this via email and you'd like to join our FUN, then please CLICK HERE to start at the beginning with Suzanne's Blog

For the hop today, my project is a very simple one today, using only the paper trimmings cartridge.

I used a regular 12 x 12 sheet of blue paper and added an offset sheet of 11 x 11 paper from K&Company's Abrianna paper stack.

I added a corner border next, starting out with the "flwer5" corner piece cut @ 2. I then cut two borders @ 1 of "flwer5". I trimmed them down to add on to the corner piece and added stickles to the flower centers using blue and purple.


I cut another corner piece of "flwer5" at 4 in white and the background piece in purple, adding to the center with a violet Viva Decor pearl pen.

Next I cut the square "flwer5" regular cut and the shift cut in light and dark purple. I cut a pink border by hand to fit inside the frame and added some gems to that. All that was left was to add the picture of my daughter and nephew!


Thank you again for checking out my project.
For Blog Candy for my Blog I will be choosing a random winner for the Holiday Cakes cartridge on January 30. So make sure you leave a comment, along with a way for me to contact you, and become a follower.

Remember to visit all the stops for MAXIMUM ideas and LOTS OF FUN!!


Suzanne
Also posting for Cindy who does not have a blog
Fantabulous Cricut Challenge Blog  Frienda
Lasting Memories
Message Board Friends
Shawnee   http://quiverofangels.blogspot.com/
Sweet Sassy Diva Blog Friends

Thursday, January 26, 2012

Baby Brag Book

While I can tell you some of how I made this book, I can not tell you the sizes I used and how I did the binding. Check out this post HERE for the 1st book like this that I did and where I bought the pattern from. If you check out Laura’s blog, you’ll notice that I did this book differently. I didn’t want pockets, I wanted to show off my photos!

I started out with 5 pages,

and 8 flaps

I cut two pieces of chip board for the cover.

I attached 2 flaps to either side of 3 pages.

On the front and back page, I attached only 1 flap.

Once all my pages were glued together, I attached the covers. I prefer to attach the covers before adding my paper so I would have a bigger base for pictures if I needed it. (I hadn’t picked out what pictures I wanted to use at this point)


I glued all my pages together in book form, attaching the covers. (It's not fair to Laura to show you how I did this, sorry!!) I finished covering the rest of the pages, and then I added what pictures I wanted, leaving room for some future pictures.


A few pages left were left blank so I can add as we grow. :)


To the spine I added a paper clip with ribbons

To the front, I used my hot glue gun to attach the flowers. I added a border and another piece of patterned paper the I used MS punches on.

The back cover I just added a border to it

Thanks for looking!

Wednesday, January 25, 2012

Christmas Sketch LO

Good Morning!

Today's post is another sketch LO. This sketch is also from Scrapbooks Etc.


Thanks for looking!

Tuesday, January 24, 2012

89th Birthday LO

Good Morning!

Today's LO is using only what I already have. I have SO many stickers from before I my husband bought me a Cricut. I really need the space, so my goal is to use up what I already have. Except for the page base, everything I used was from my scrap drawers.


Thanks for looking!